微信小程序文件上传
HBuilder版本:3.8.12.20230817
uni-Cloud
新建uni-app项目
选择启用uniCloud,使用阿里云 , Vue2,默认模版

初始化uniCLoud
HBuilderX 会在项目创建后弹出 uniCloud初始化向导,根据向导部署阿里云服务空间
按照法律要求,开通云服务器需实名认证,如未认证请根据提示完成
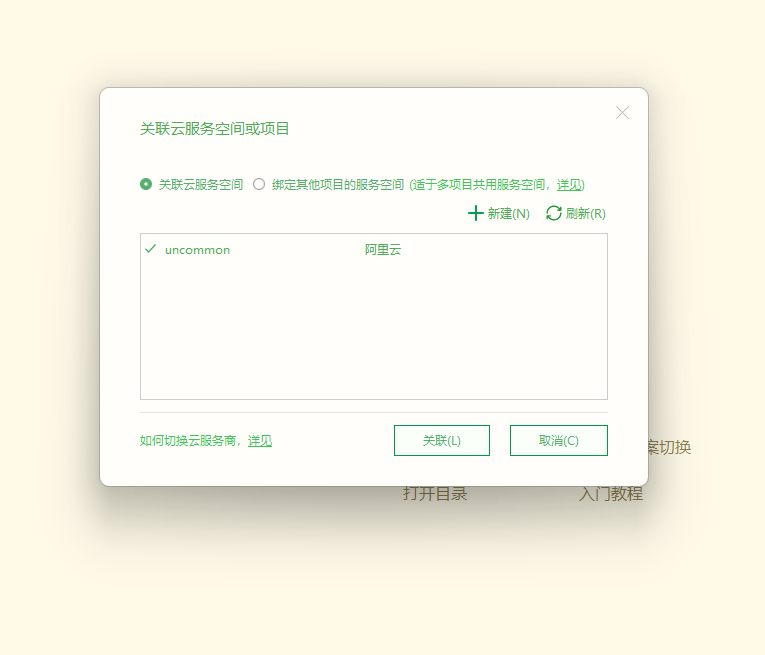
创建一个服务空间,创建完成后回到向导刷新列表,选择这个服务空间(创建服务空间可能需要几十秒的时间,可以在web控制台查看是否创建完成。)
云函数
可以参考这篇博客 https://blog.csdn.net/weixin_38946164/article/details/110639049
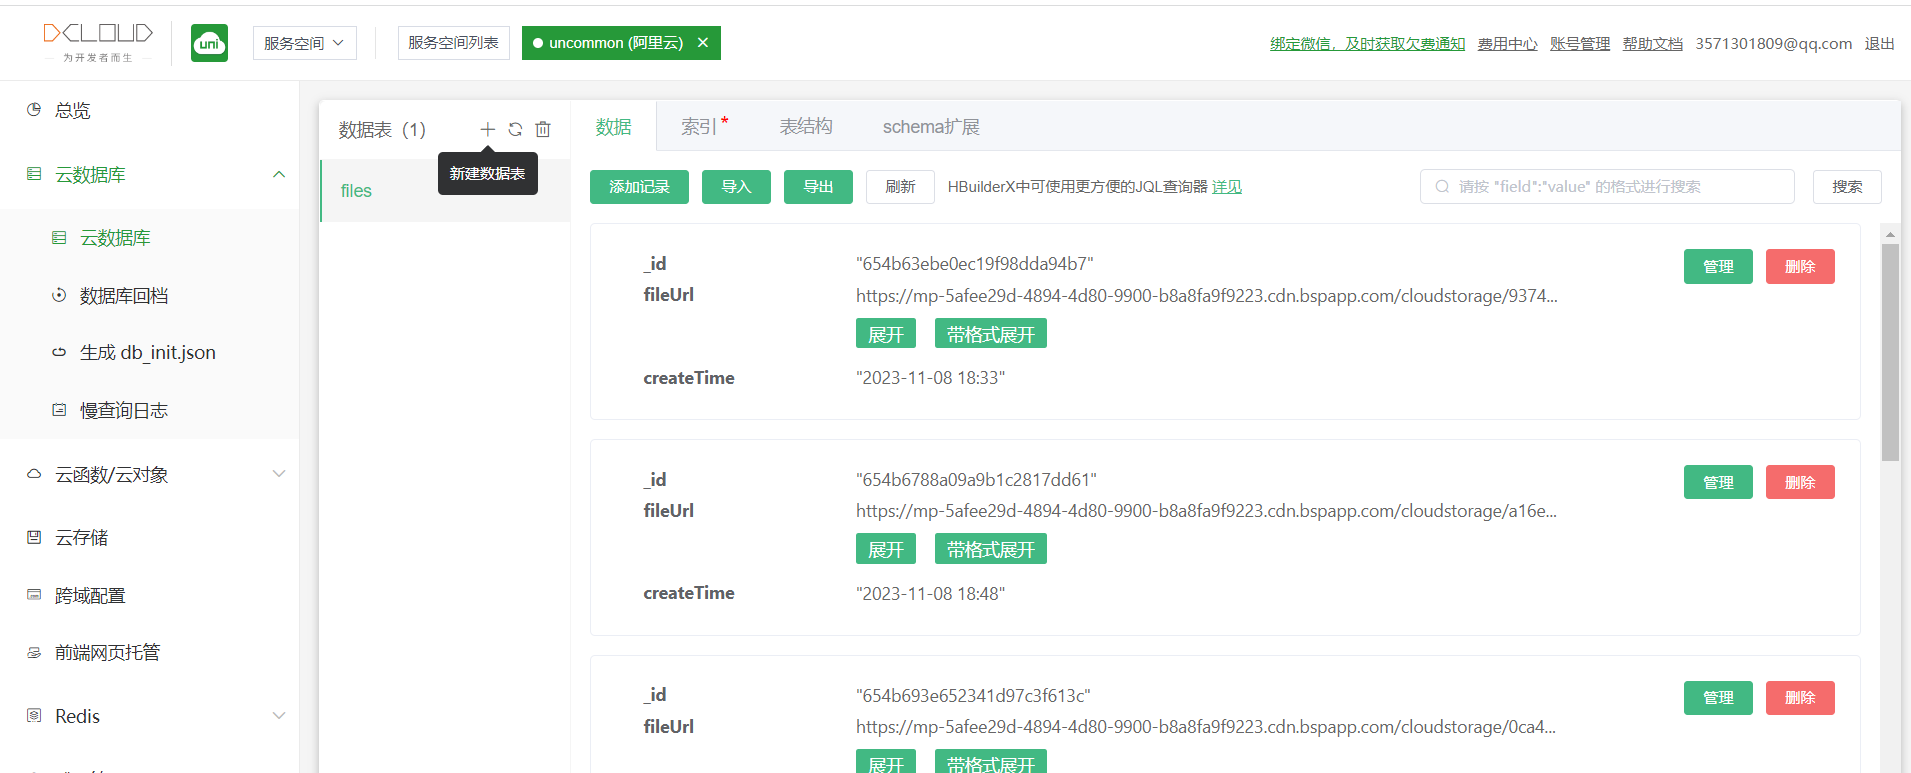
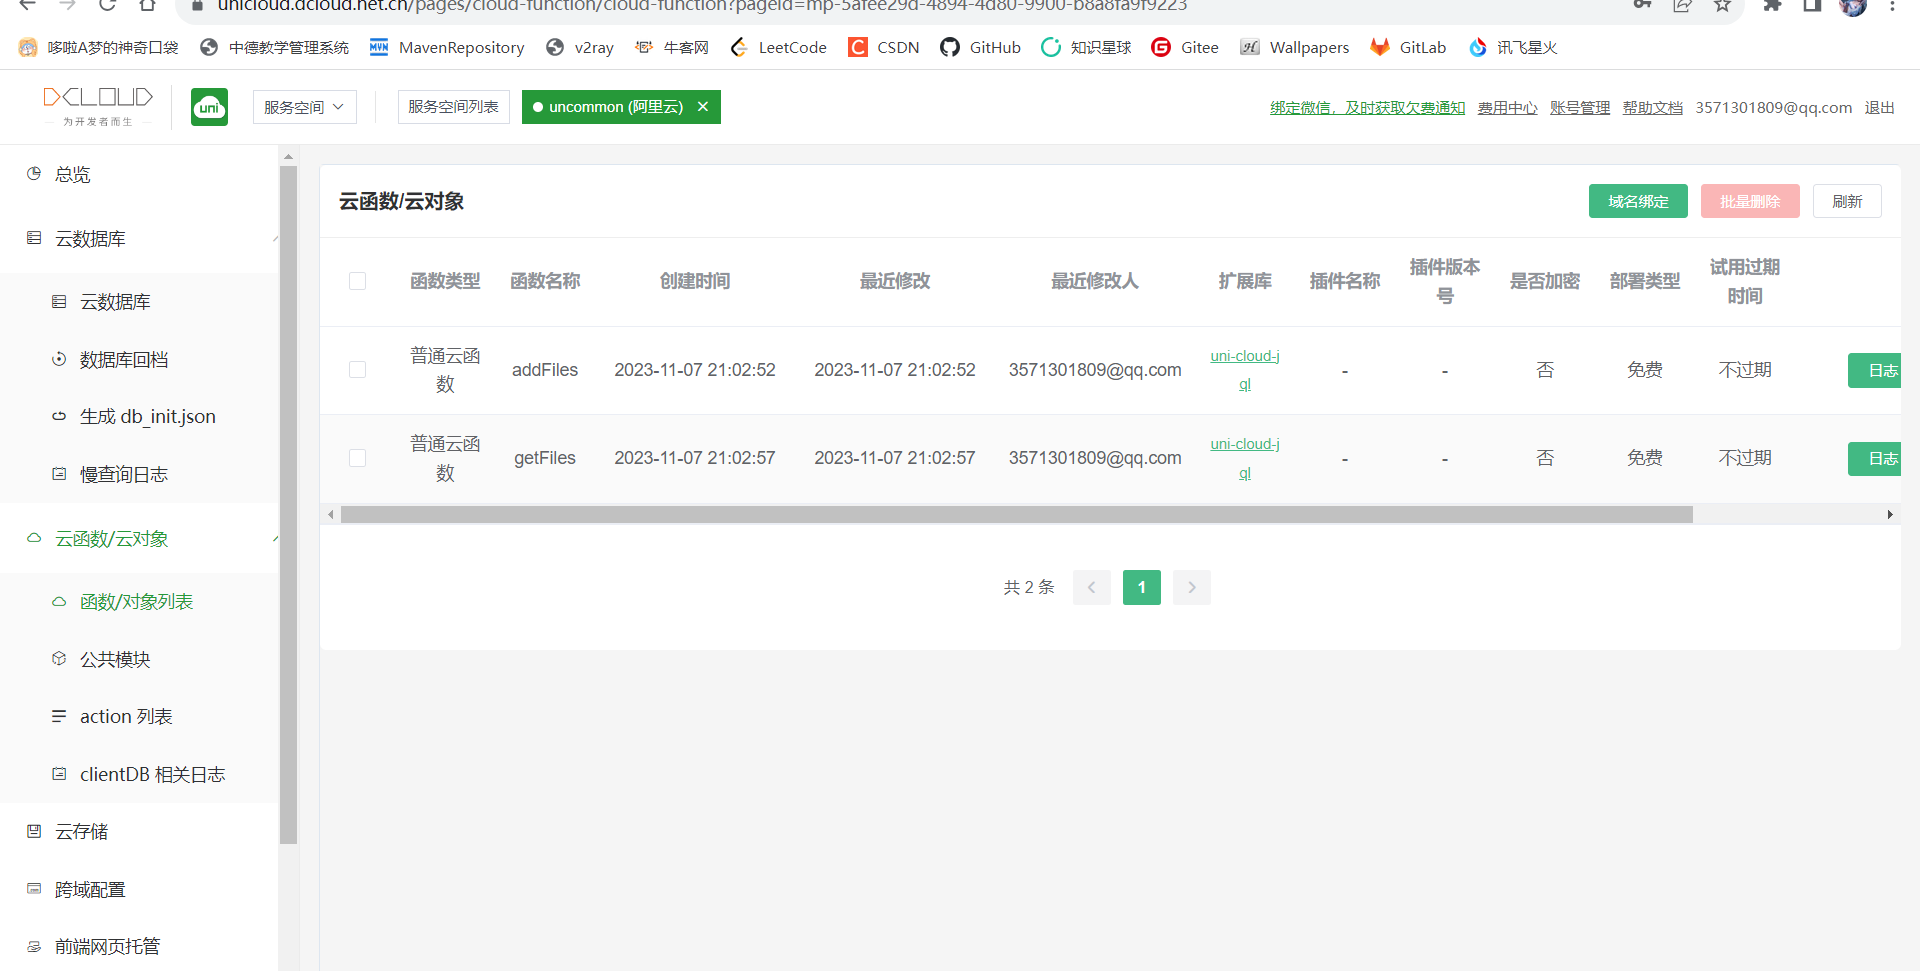
在uniCloud 的 web 控制台选择你创建好的服务空间

点击名称(如图为 uncommon)进入
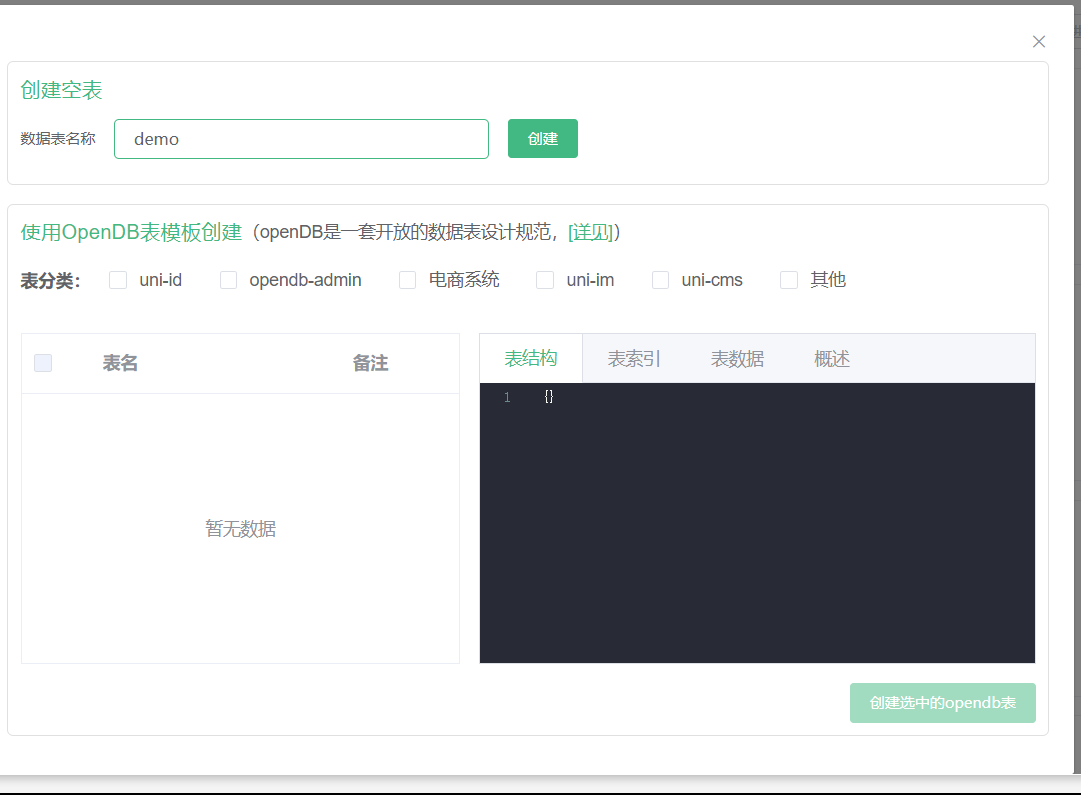
在云数据库中新建数据表
直接创建空表
在项目的uniCloud.cloudfunction目录下右键新建云函数
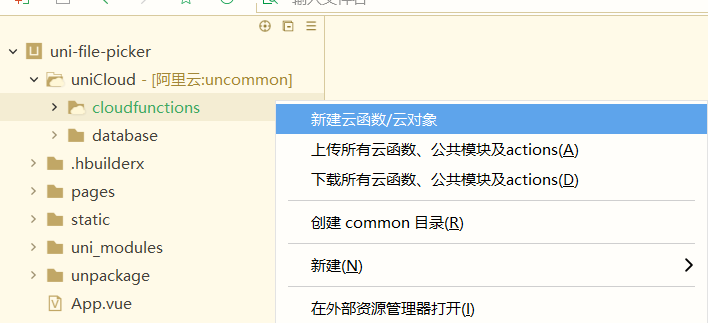
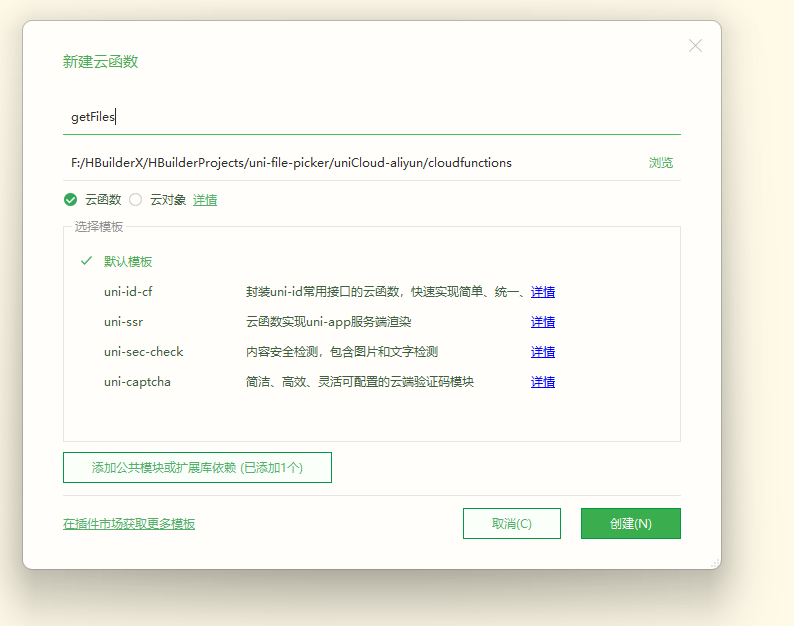
起个名字后点击创建
要分别创建addFiles和getFiles两个云函数
在addFiles.index.js里写函数:
注意将 files 改为自己的云数据库里的表名
1
2
3
4
5
6
7
8
'use strict';
const db = uniCloud.database()
exports.main = async (event, context) => {
const collection = db.collection('files') //云数据库里的表名 ,记录上传图片到云存储后返回的fileID
const res = await collection.add(event) //event为客户端上传的参数
return res
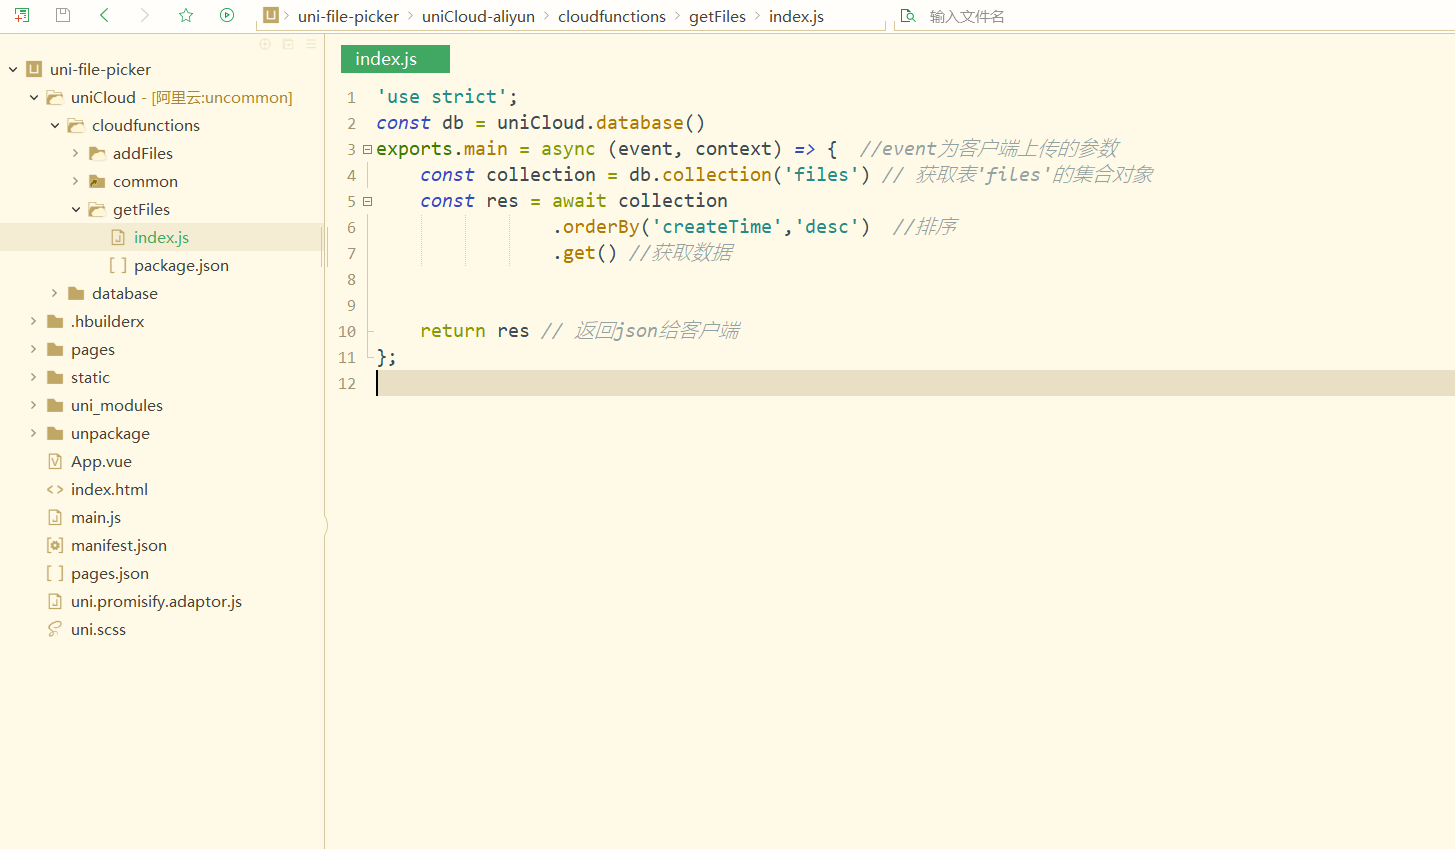
};在getFiles.index.js里写函数:
注意将 files 改为自己的云数据库里的表名
1
2
3
4
5
6
7
8
9
10
11
12
'use strict';
const db = uniCloud.database()
exports.main = async (event, context) => { //event为客户端上传的参数
const collection = db.collection('files') // 获取表'files'的集合对象
const res = await collection
.orderBy('createTime','desc') //排序
.get() //获取数据
return res // 返回json给客户端
};
分别上传部署两个云函数
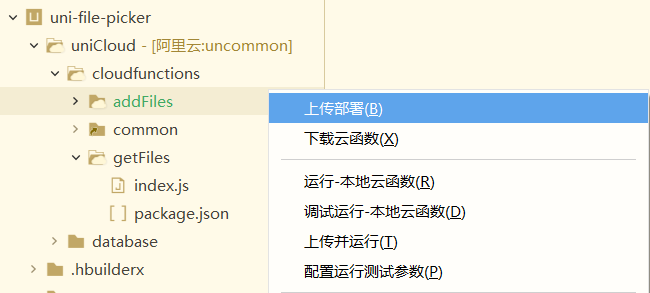
而后可以在web控制台内看到上传的云函数
代码实现
pages.index.inde.vue
可以根据具体需要选择何种上传方式,不需要的上传方式直接删除其整个
部分即可
1 | |
pages.index.view.vue
1 | |
新页面需要添加在pages.json里:
1 | |
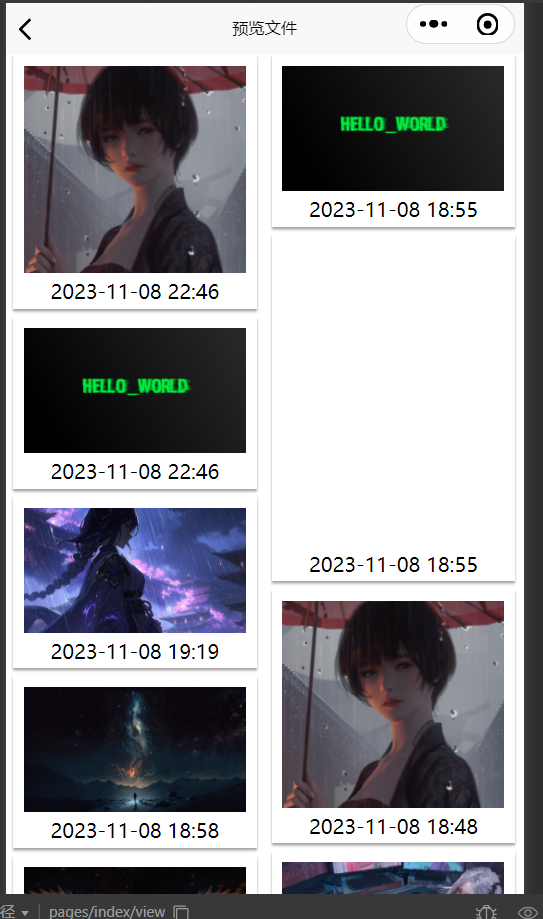
启动!
注意右上方的选择连接本地云函数还是云端云函数
本地云函数一般是云函数的开发版
云端云函数一般是云函数的发行版
在我们这里当然都一样啦,选哪个都行

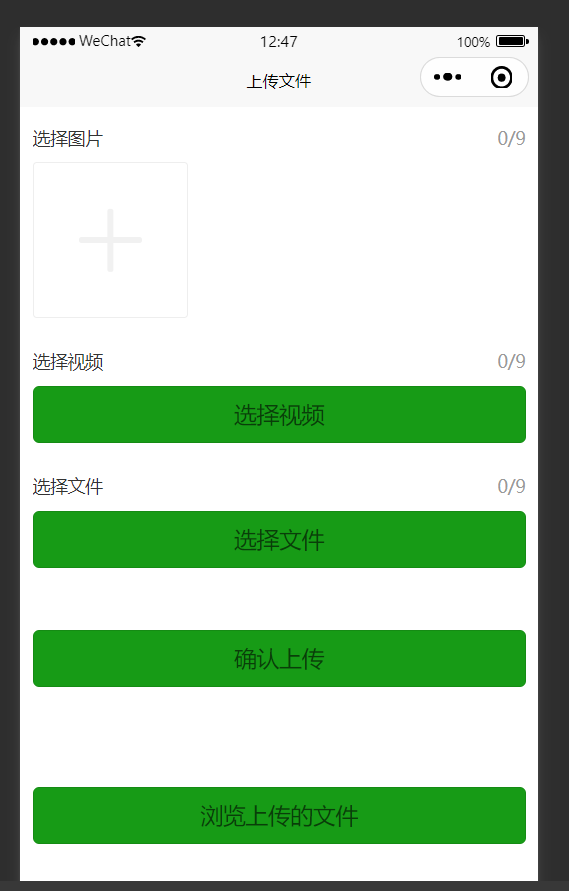
只有图片可以预览,其它文件都显示空白
仅用于说明可以从云端拿回上传的文件